
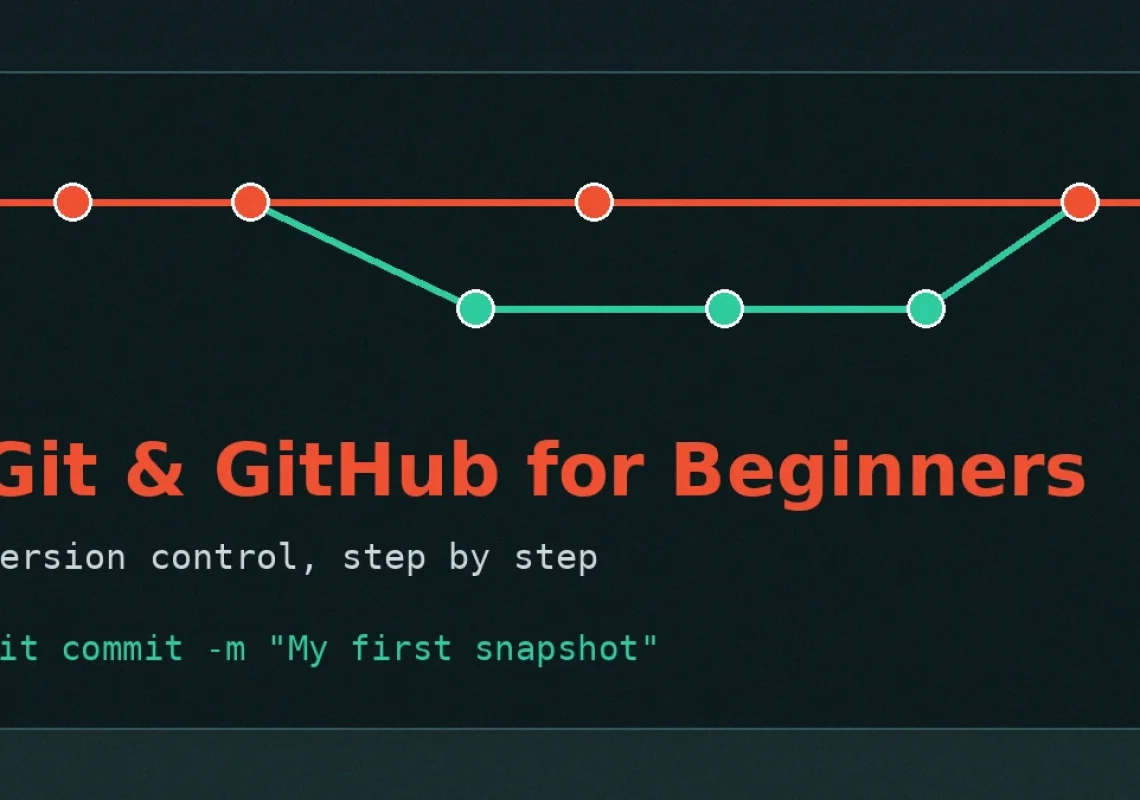
Every beginner programmer eventually deletes a file they needed, breaks something that was working yesterday, or ends up with folders named project-final-v2-REALLY-final. Git and GitHub for beginners is the skill that ends that chaos. Git is the tool professionals use to track every change in their code, undo mistakes safely, and work on the same project as other people without overwriting each other. This step-by-step guide explains what Git and GitHub actually are, walks you through your first repository and your first commits, and shows you how to publish your work online. No experience is assumed beyond knowing how to open a folder on your computer.
What Are Git and GitHub, and How Do They Differ?
Beginners often mix these two up, so let us separate them clearly. Git is a free program that runs on your own computer. It watches a project folder and records snapshots of your files whenever you tell it to, building a complete history you can revisit at any time. GitHub is a website where you can store a copy of that history online. Think of Git as the notebook you write in, and GitHub as the library shelf where you keep a backup of the notebook that other people can also read. You can use Git perfectly well without GitHub, but the combination is what most employers and open-source projects expect, which is why this guide teaches both together.
Why Beginners Should Learn Version Control Early
Many learners postpone Git until they feel “advanced enough”, and that is a mistake. Version control is most valuable precisely when you are experimenting, because it makes experimentation safe. Trying a risky idea stops being scary when you know you can rewind to the exact moment everything worked. Git also teaches you to work in small, deliberate steps: change one thing, check it works, save a snapshot with a clear message. That rhythm improves your coding long before you join any team. Finally, a GitHub profile quietly becomes your portfolio. The projects you publish while learning are visible proof of progress that a certificate alone cannot give you.
Step 1: Install Git and Set It Up
Download Git from the official site at git-scm.com and run the installer, accepting the default options. On a Mac it may already be installed; on any system, open a terminal (Command Prompt or PowerShell on Windows) and check by typing:
git --version
If a version number appears, you are ready. Before your first snapshot, tell Git who you are, because your name and email are attached to every change you save:
git config --global user.name "Your Name"
git config --global user.email "you@example.com"
You only do this once per computer. Use the same email you plan to use for your GitHub account so your online profile connects properly later.
Step 2: Create Your First Repository
A repository, usually shortened to “repo”, is simply a project folder that Git is watching. Create a new folder for a practice project, open your terminal inside it, and run:
git init
That is all it takes: the folder is now a repository. Add a file, perhaps a simple text file or an HTML page, and then ask Git what it sees:
git status
The status command is the one you will use most. It tells you which files are new, which have changed, and what Git suggests doing next. Whenever you feel lost, run git status first; it is designed to guide you.
Step 3: Save Changes With Commits
A commit is a saved snapshot of your project at one moment, labelled with a message describing what changed. Saving a snapshot is a two-step process. First you choose which changes belong in the snapshot, called staging:
git add index.html
Then you commit the staged changes with a clear message:
git commit -m "Add homepage layout"
Write messages that explain the change in a few words, as if completing the sentence “This commit will…”. To look back through everything you have saved, run git log, which lists your snapshots newest first. If a later experiment goes wrong, this history is your safety net: your earlier work is never truly lost.
Step 4: Work Safely With Branches
A branch is an independent line of work inside the same repository. Branches let you build a new feature without touching the stable version of your project. Create one and switch to it like this:
git branch try-new-design
git switch try-new-design
Now every commit you make belongs to that branch. If the design works out, you merge it back into your main branch; if it fails, you simply delete the branch and nothing was harmed. Professional teams run every task on its own branch, so practising this habit on your very first projects puts you ahead of many self-taught learners.
Step 5: Publish Your Code on GitHub
Create a free account on github.com, then create a new empty repository there with the same name as your project. GitHub will show you the address of that online repo. Connect your local folder to it and upload your history:
git remote add origin https://github.com/yourname/your-project.git
git push -u origin main
From now on, whenever you commit something worth sharing, a quick git push sends it online, and git pull downloads changes when you work from a second computer. Your code is backed up, visible to employers, and ready for collaboration.
A Beginner Practice Routine
Git only becomes natural through repetition, so attach it to the coding you are already doing:
- Every study session: end by staging, committing, and pushing your work, even if the change is tiny.
- Every new idea: create a branch first, so your main version always stays working.
- Every mistake: before fixing anything, run
git statusandgit logand read what they tell you. - Every week: look back through your commit messages; clear, honest messages mean the habit is forming.
Common Beginner Mistakes to Avoid
The most common mistake is committing rarely and writing vague messages like “stuff” or “changes”, which makes your history useless when you actually need it. Commit small and often instead. The second is fear of the terminal: every Git user has felt it, and the cure is simply using the same five or six commands until they become boring. The third is editing files on GitHub’s website and in your local folder at the same time, which creates conflicting copies; pick one place to work, and pull before you start if you have been away. Finally, never commit passwords or private keys. Once something is in your history, removing it completely is painful.
Where to Go Next
Git supports everything else you will learn, so pair it with a practical coding path. If you have not built a web page yet, start with our HTML and CSS for Beginners guide and commit every exercise. Then add interactivity through our JavaScript fundamentals guide, or explore a second language with the Python programming guide. When you are ready to understand how apps talk to servers, the RESTful APIs with Express and Node.js guide is the natural next step, and our front-end development techniques guide ties the whole skill set together.
Version control is not an advanced extra; it is the foundation that makes learning to code calmer, safer, and easier to show to the world. Install Git today, make your first commit on whatever you are currently practising, and let the history grow. A month from now, scrolling back through those snapshots will show you exactly how far you have come.